Graspway is an online school management tool, commonly referred to as LMS (Learning Management Software). Graspway uses various technologies seamlessly connected to offer our users a powerful and user-friendly tool that makes online training management easy.
An online school typically consists of a web catalog of courses, a virtual classroom for teachers and students, where all teaching activities take place, and a control panel to manage courses, users, subscriptions, certificates, etc. Graspway connects three specialized platforms to create a superior platform.
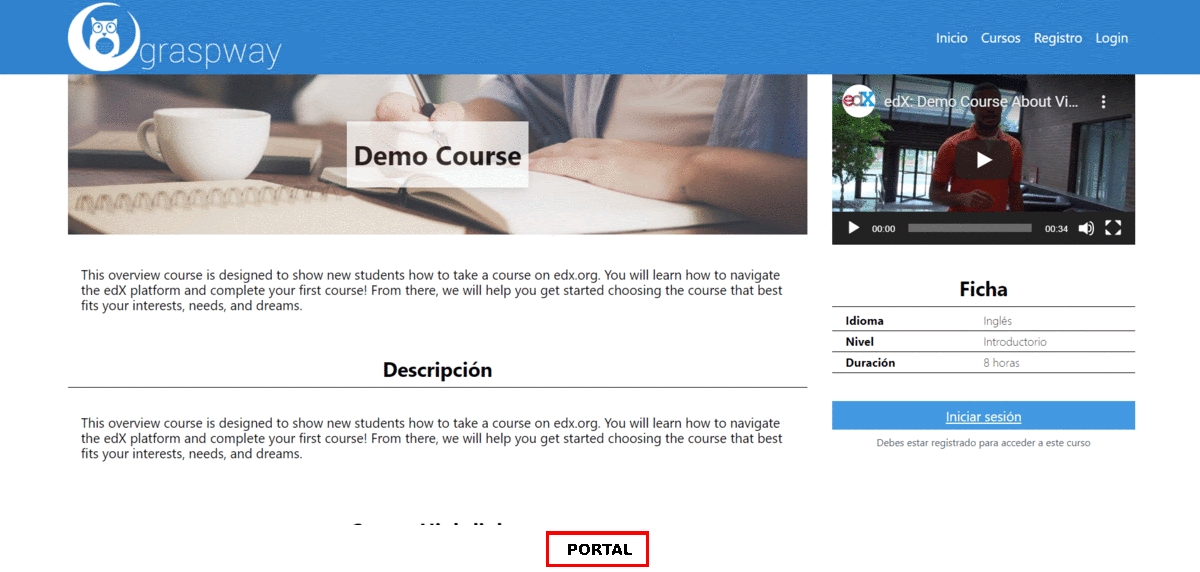
The Portal is the public-facing part of the Graspway site that displays the course catalog, blog, and a small online store (both optional). This public part is managed from the dedicated administration panel of the Portal. From this administration, you can configure the appearance of course profiles in the web catalog, blog posts, products, and orders in the online store, the overall site appearance (colors, logo, etc.), site languages, and many other features.
The Portal is built on the WordPress content publishing platform.
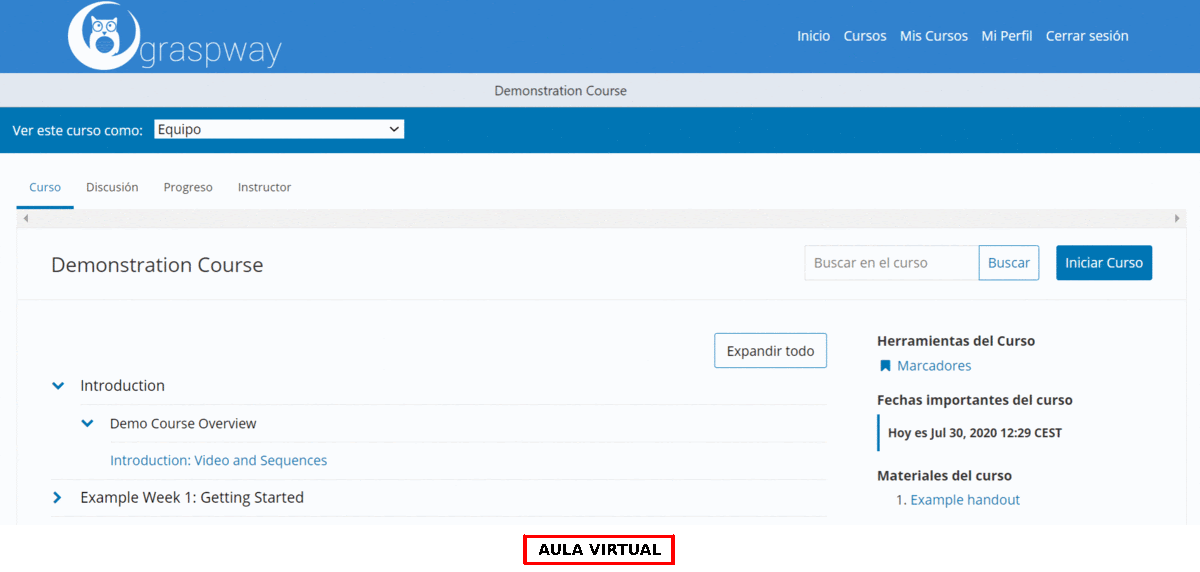
The Virtual Classroom (Aula Virtual) is the practical part of the Graspway site, the online school itself. In this Virtual Classroom, teachers will provide content to platform courses with topics, exercises, tests, etc., and students, in turn, will complete the courses they have subscribed to. They will review different course topics, complete exercises, and face tests and exams within the platform.
The Virtual Classroom is based on the Open EdX ® platform.
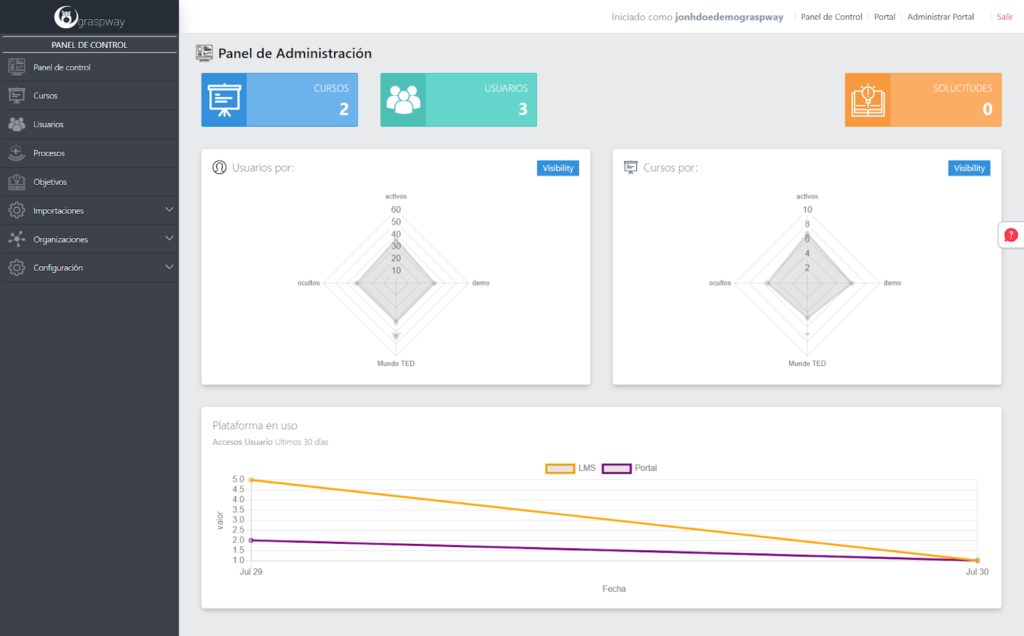
The Control Panel is the central hub for managing the entire Graspway site. You can use it to manage courses, users, subscriptions, certificates, and academic processes, among other things. The Control Panel provides detailed statistics on courses and students, allows for bulk import of users and subscriptions, and enables basic configuration of the Graspway site. It is built using a proprietary development platform.
These three interconnected platforms make up a Graspway site.
We have brought together the three most powerful platforms in their sector into a great LMS platform to offer our clients the most comprehensive solution on the market.
Graspway offers three predefined plans: Standard, Advanced, and Enterprise. Each plan comes with a unique set of features, and the price varies accordingly.
Standard Plan:
Designed for small businesses or academies that do not have areas, divisions, or territorial delegations.
Advanced Plan:
Ideal for medium-sized companies or universities with areas, divisions, or territorial delegations and coordinators.
Enterprise Plan:
Designed for large organizations requiring integrations with their internal management systems and great flexibility in web design.
You can easily subscribe to any of our plans from the pricing section on our website.
To create a course from scratch and make it available for students to subscribe to and complete, you need to follow these steps:
- Create the course in the Control Panel: Specify the course name and the identification code.
- Assign teachers to the course from the Control Panel: Once the course is created, register and assign teachers to it.
- Create the course profile on the Portal: Here, you can design the course profile and add details like the course description, schedule, agenda, curriculum summary, teachers, and a presentation video. The course appears as a draft and is not yet published on the Portal.
- Create the course content in the Virtual Classroom: Use the administration panel of the Virtual Classroom (Studio) to organize the course materials by topics, exercises, tests, videos, slides, etc. All the content created from this tool will appear as course content once published.
- Create the course product in the Portal’s E-commerce (optional): You can create free or paid courses. For paid courses, the Portal offers the option to configure a small e-commerce. Here, you will create products that will represent each course in the catalog, provide basic information, and set a price.
- Create a certificate template and assign it to the course from the Control Panel (optional): It is optional to send a certificate to students upon completion of a specific course. If you want to send this certificate, you need to create the template beforehand and assign it to the selected course.
- Publish the course on the Portal: Once you have successfully completed all the above steps, the final step is to publish the course on the Portal. This will make it available for users to view and subscribe to it if they wish.
The Portal allows anonymous users to access the course catalog and enroll in courses. To get started, the user needs to register on the platform. The registration process is done through the Portal, which sends the user’s information to the Control Panel and the Virtual Classroom. This creates a user account with specific privileges for each platform. Once registered and logged in, the user can easily subscribe to any course belonging to their organization by clicking the ‘Enroll‘ button. However, if the user wants to subscribe to a course from another organization, the subscription request will remain pending until an administrator approves it from the Control Panel. Once the course subscription is confirmed, it is recorded in the Control Panel and the Virtual Classroom.
To modify the appearance of your Graspway site, you need to access the Portal’s appearance configuration.
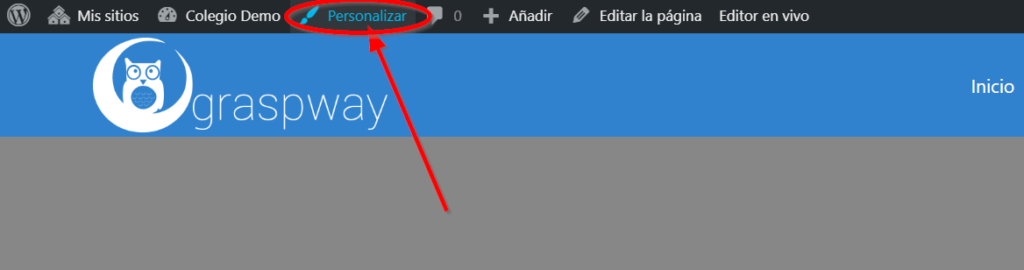
To access the appearance configuration page of your Graspway site, you must first log in to the platform with a user role of Administrator. Once logged in, simply click on the Customize link in the top menu of the Portal Home page to access that page.
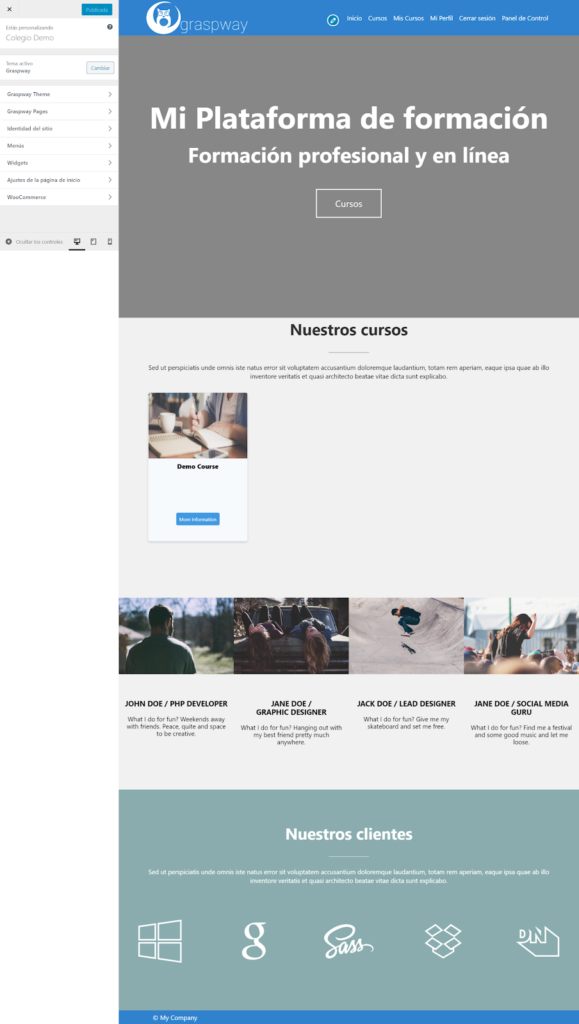
Within the Portal’s appearance configuration page, there are several sections where you can configure different aspects:
You can access a wide range of statistics and reports on your Graspway site. The Control Panel provides data on courses and their users, while the E-commerce section of your Portal offers information on sales and customers. Here is a list of all the statistics and reports available on your Graspway site:
- Global site statistics
- Course Statistics
- User statistics
- Training process reports
- Course objectives reports
- Order reports
- Customer reports
- Portal status report
If you have any questions about how to use the Graspway site or encounter any issues while using it, you can easily contact the Support team. All you need to do is click on the Support button, which is available in the Client Area, the administration panel of the Portal, and the Control Panel.

Once you click on the button, a pop-up window will appear with a form that you need to fill out with the required information to submit a support ticket. The Support team will then address your issue as soon as possible.
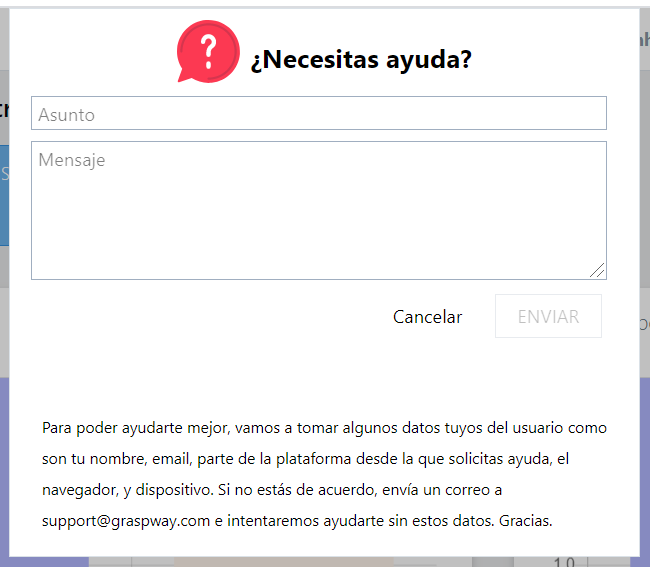
Alternatively, you can also submit a support ticket by sending an email to support@graspway.com
If you need to add additional functionality to your Graspway site and your plan allows it, please contact our sales department.